Home Appliances


Product currently not available
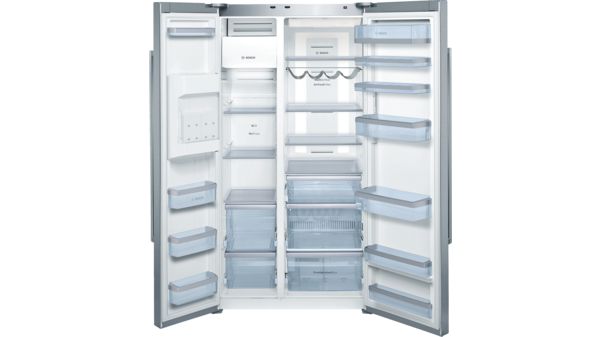
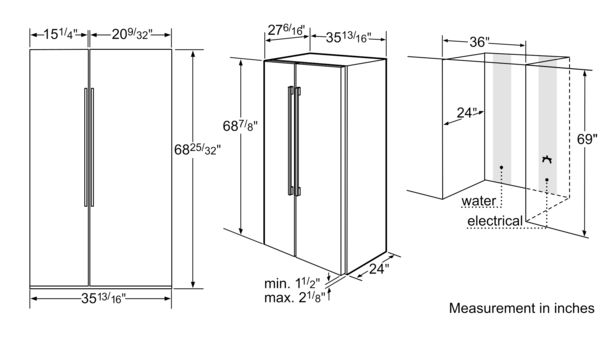
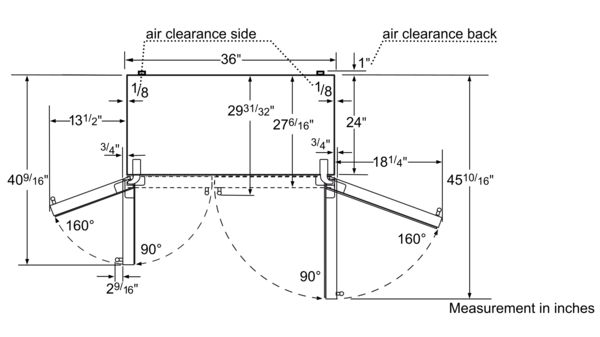
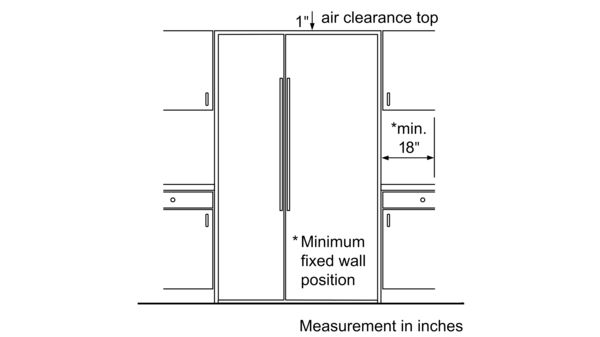
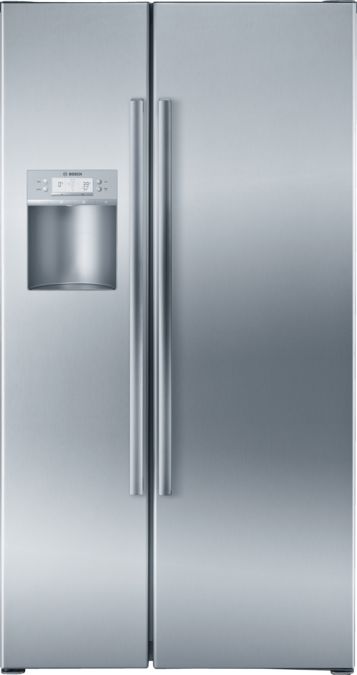
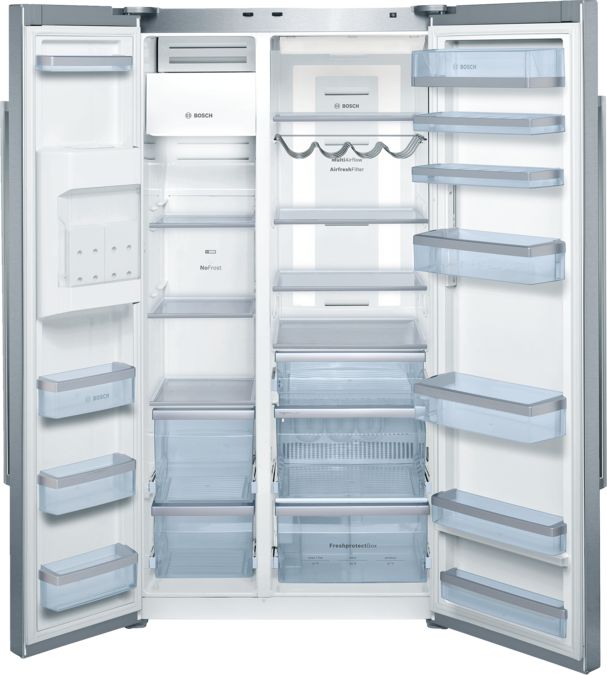
Series 8 Freestanding Counter-Depth Side-by-Side Refrigerator Stainless Steel
B22CS80SNS
Product currently not available
At Bosch, we continuously aim to improve our website and the information we provide. We would like to invite you to take part in an optional one minute survey.
If you wish to be contacted by us, please use our regular contact form here, contact Customer Support at (800) 944-2904, or chat online with a Customer Support representative. Thank you.
At Bosch, we continuously aim to improve our website and the information we provide. We could like to invite you to take part in an optional one minute survey.
If you wish to be contacted by us, please use our regular contact form here, contact Customer Support at (800) 944-2904, or chat online with a Customer Support representative. Thank you.